The ROB 102 Navigation Web App is a web-based application that allows you to
visualize the paths generated by your DFS, BFS, and A-STAR search algorithms.
The ROB 102 Navigation Web App is a web-based application that allows you to
visualize the paths generated by your DFS, BFS, and A-STAR search algorithms.
Once you implement DFS, BFS, and A-STAR, you can use the nav_cli, which is included
with the project 3 starter code, to generate output which the web app can visualize for
you. This tutorial will show you how to generate those files on replit and use the
webapp.
Visualizing a Map
Before using the path planner on a given map, you may like to visualize the map to select the start and goal cells for you plan. To do this, we need to first download the map file which we could like to visualize to our computer.
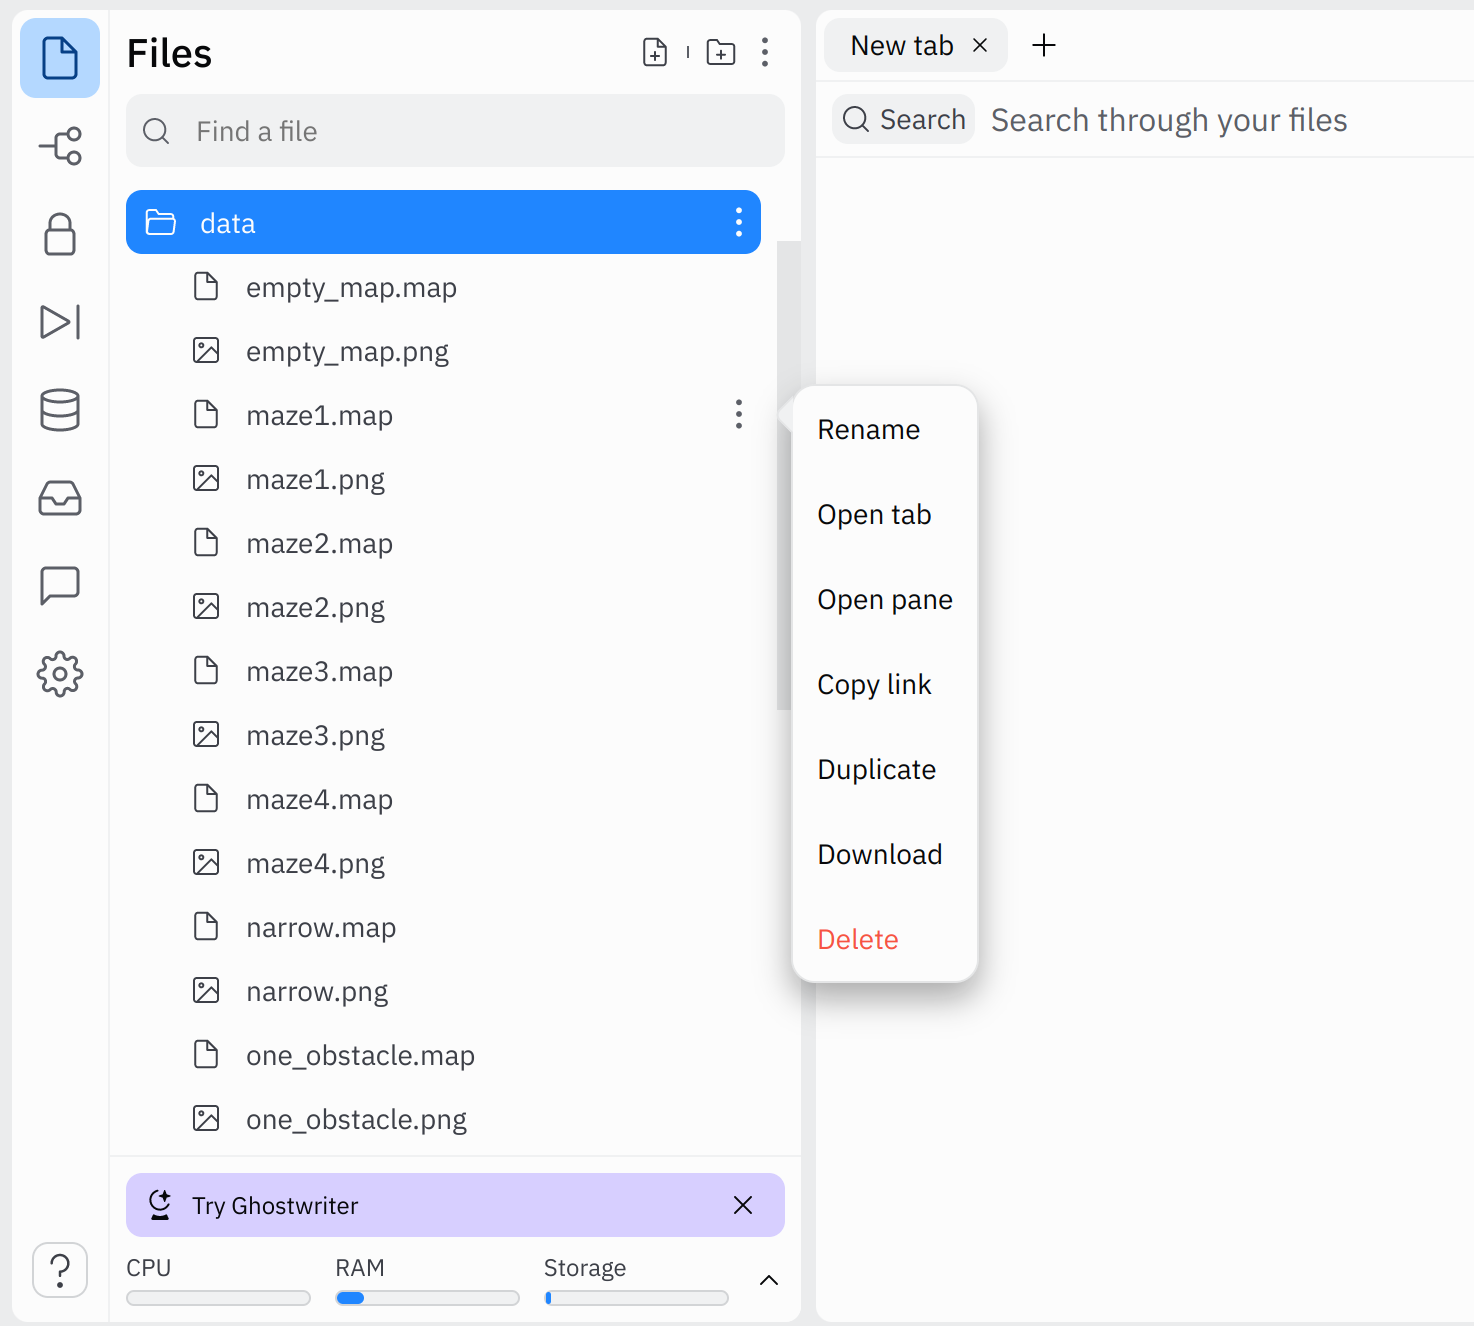
To download a map file from replit, open the data folder, which is where all the maps are stored, find the map you would like to download, then click the 3 dots that appear next to the file when you hover over it. This will give you a drop down menu where you can select the Download option to download the file to your computer.
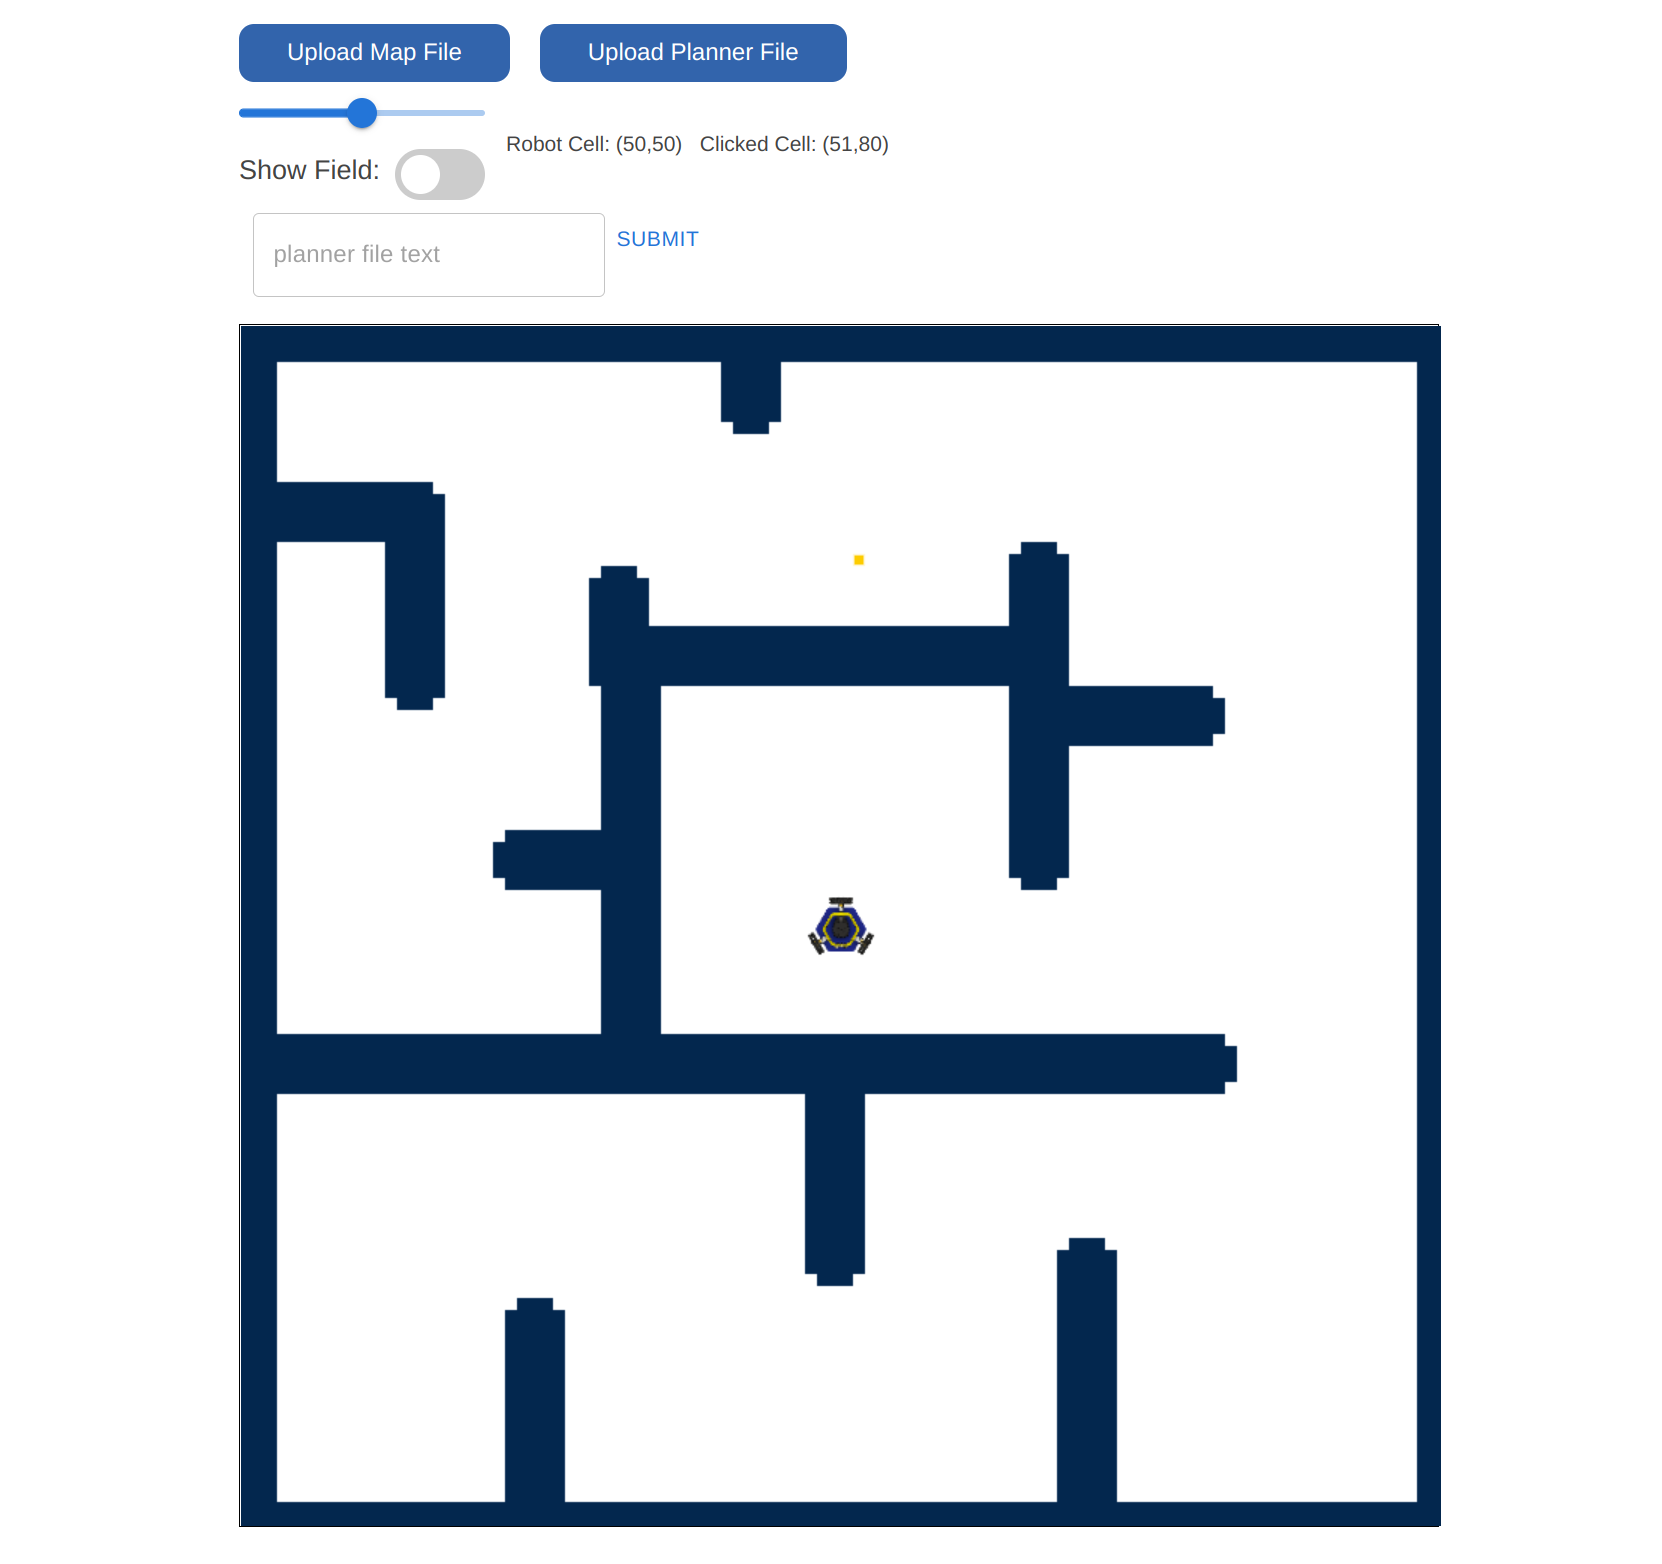
Once download, navigate to hellorob.org/nav-app/ Once open, click Upload Map File. This will open your file explorer where you can then select the map file that you downloaded, and upload it to the nav app. Once uploaded the map will automatically display. We now have the ability to click on the map to retrieve different cell values from the map to use to generate plans.
Read these instructions for:
Visualizing a plan
The main use of the web app is to visualize both the plan that your search algorithms generate along with show the order which your search algorithm visits cells. You find that the starter code provides a command line interface (cli), named nav_cli, which is used to generate the necessary data to allow the web app to visualize a search path and visited cells.
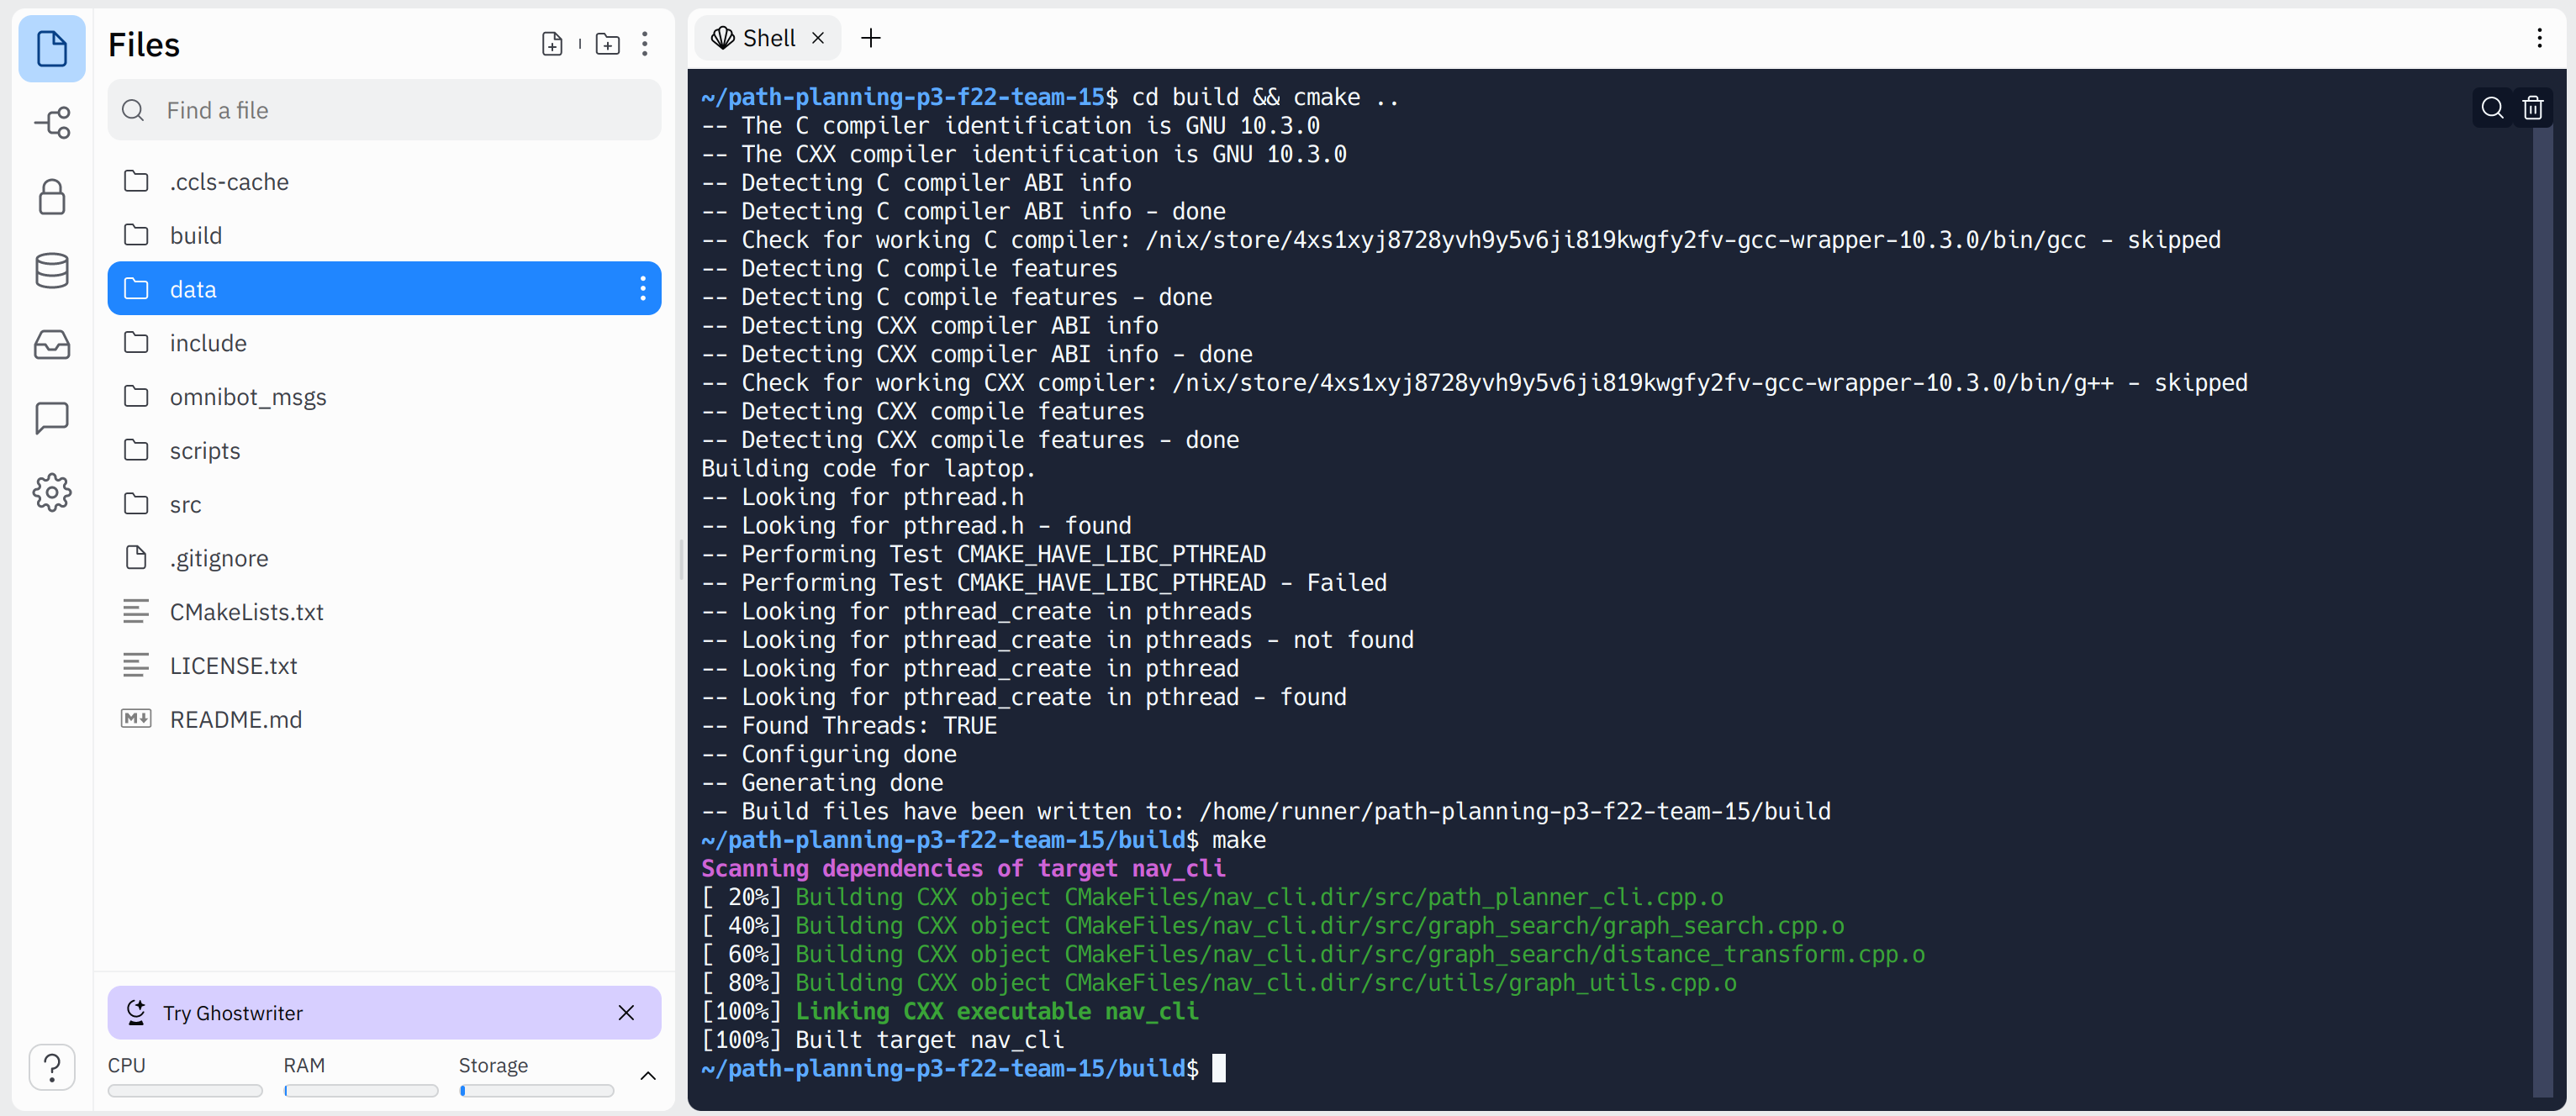
cd build && cmake .. to generate the Makefile.
Then run make. This will generate the application nav_cli.
Assuming your code compiles, you should end up with something that looks as follows:
Now that the nav_cli is compiled, we can use it to run out search algorithms.
The nav_cli is used as follows:
./nav_cli [map_file] [planning_algo] [start_x] [start_y] [goal_x] [goal_y]
where [map_file] is the map which we would like to use, [planning_algo]
is the desired search algorithm we would like to use (one of bfs, dfs, or astar), [start_x]
and [start_y] are the starting cell x and y coordinates, respectively, and
[goal_x] and [goal_y] are the goal cell x and y
coordinates, respectively.
Try running ./nav_cli ../data/maze1.map astar 21 88 86 18.
Assuming your code works properly, you will end up with the following output:
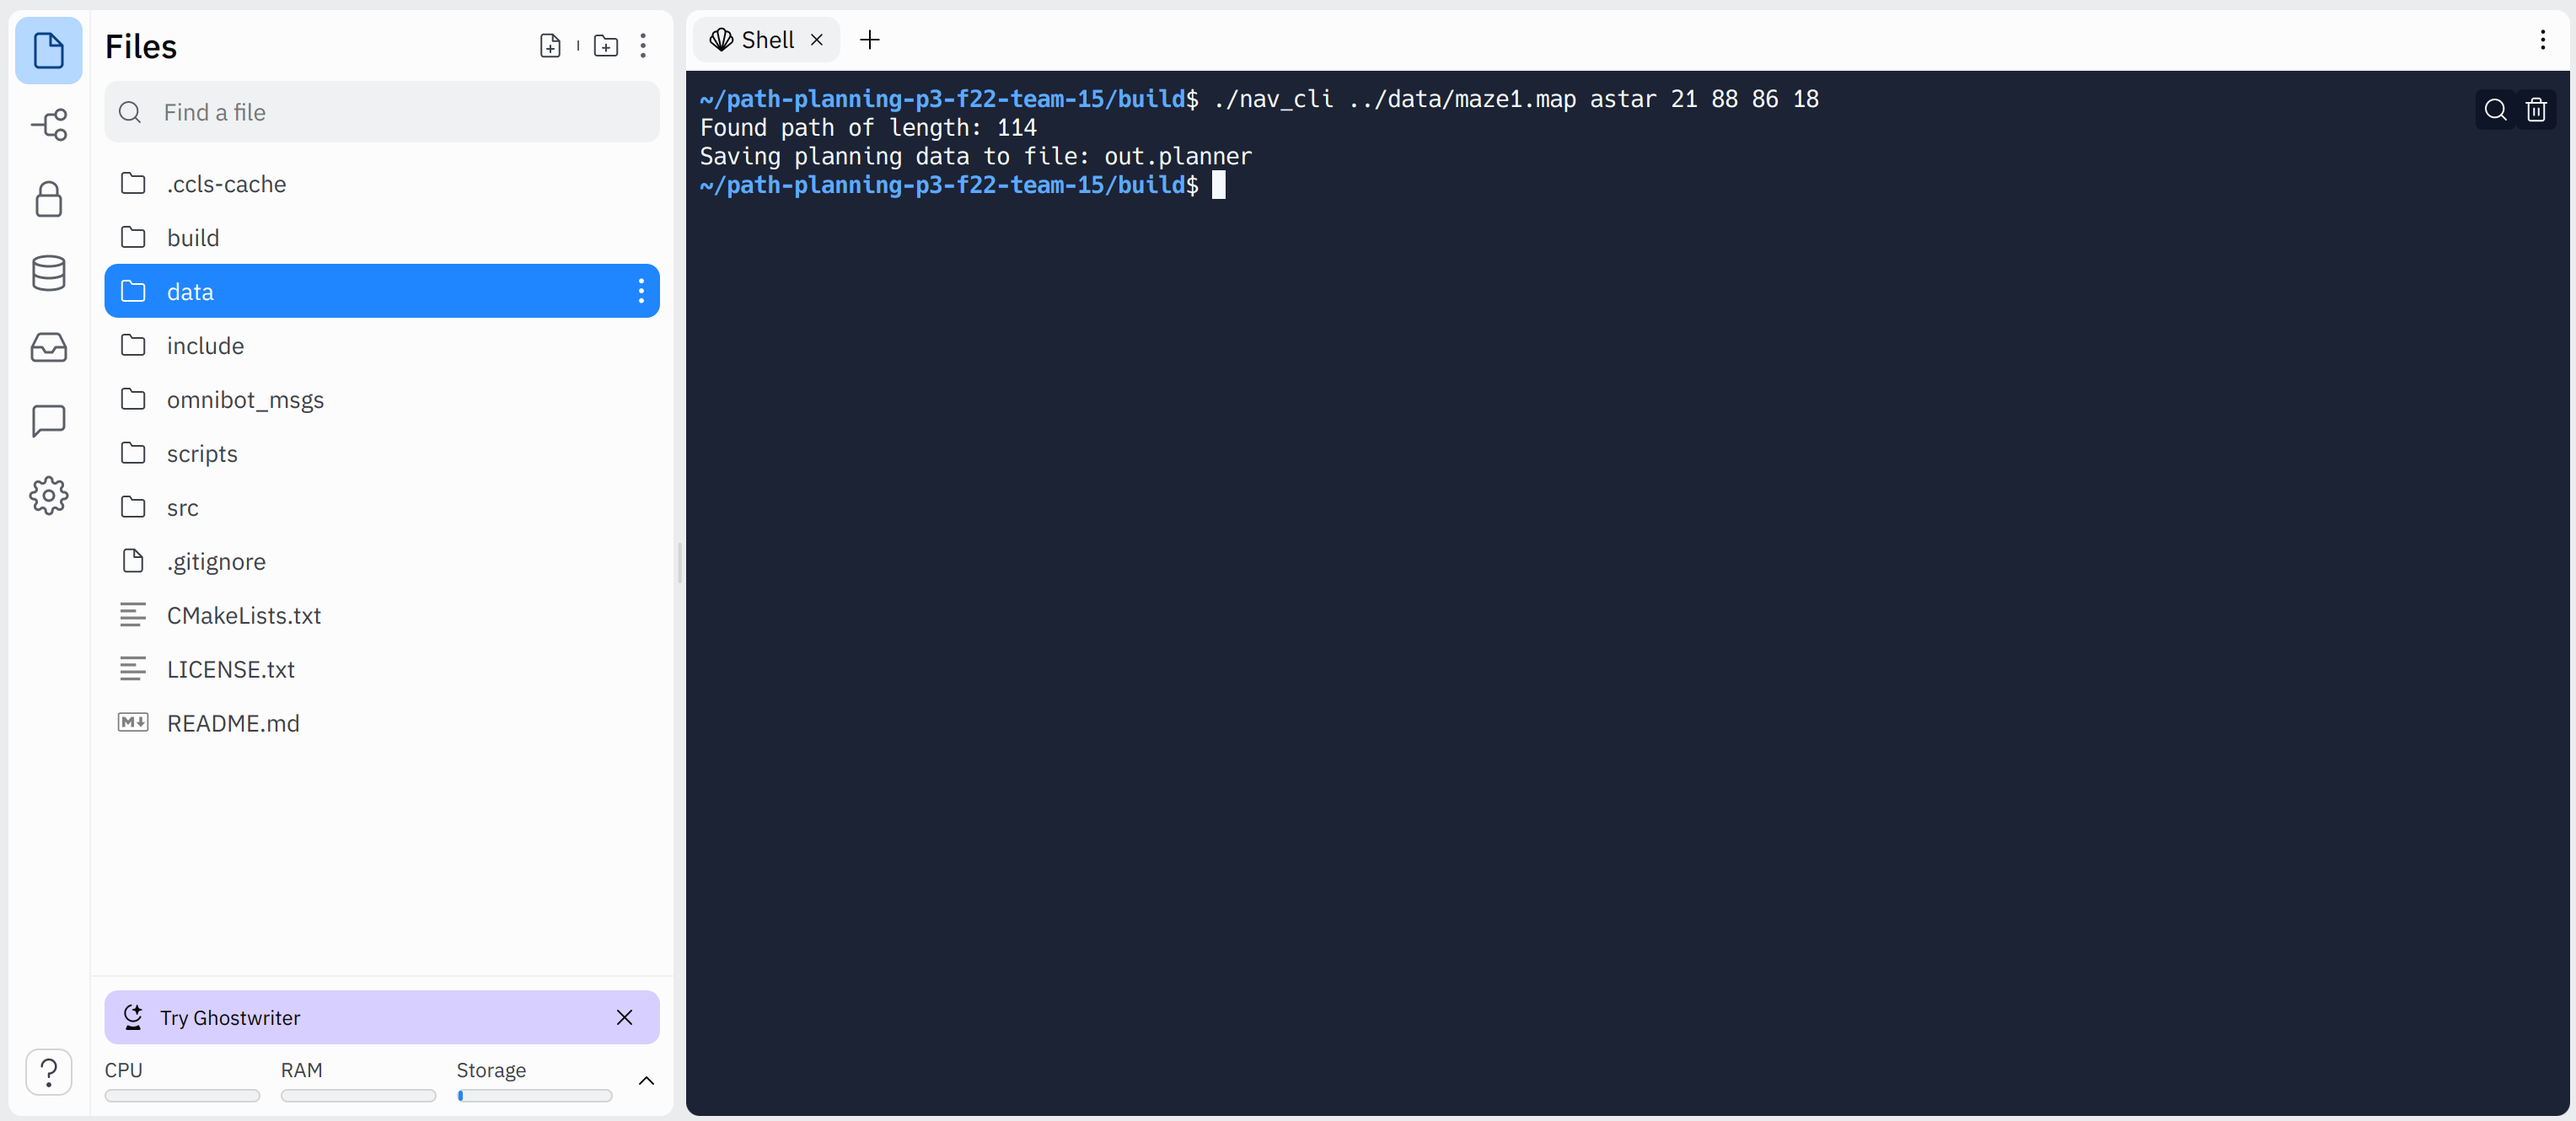
nav_cli generates an output file, named out.planner located in the
build folder of your project.
python path_planner_cli.py -m [PATH/TO/MAP] --start [START_i START_j]
   --goal [GOAL_i GOAL_j]
The map can be any map in the data/ folder. You can also make your
own or use maps from the robot to test! The start and goal should be represented by cell indices. You can also
upload maps to the web app so that you can choose good start and goal cells to test. To test a different
algorithm, you can pass --algo [astar | bfs | dfs]. The default is bfs.
This script will generate the file out.planner, which you can upload to the web app.
You will be able to open the file and see its contents, which will look as follows:
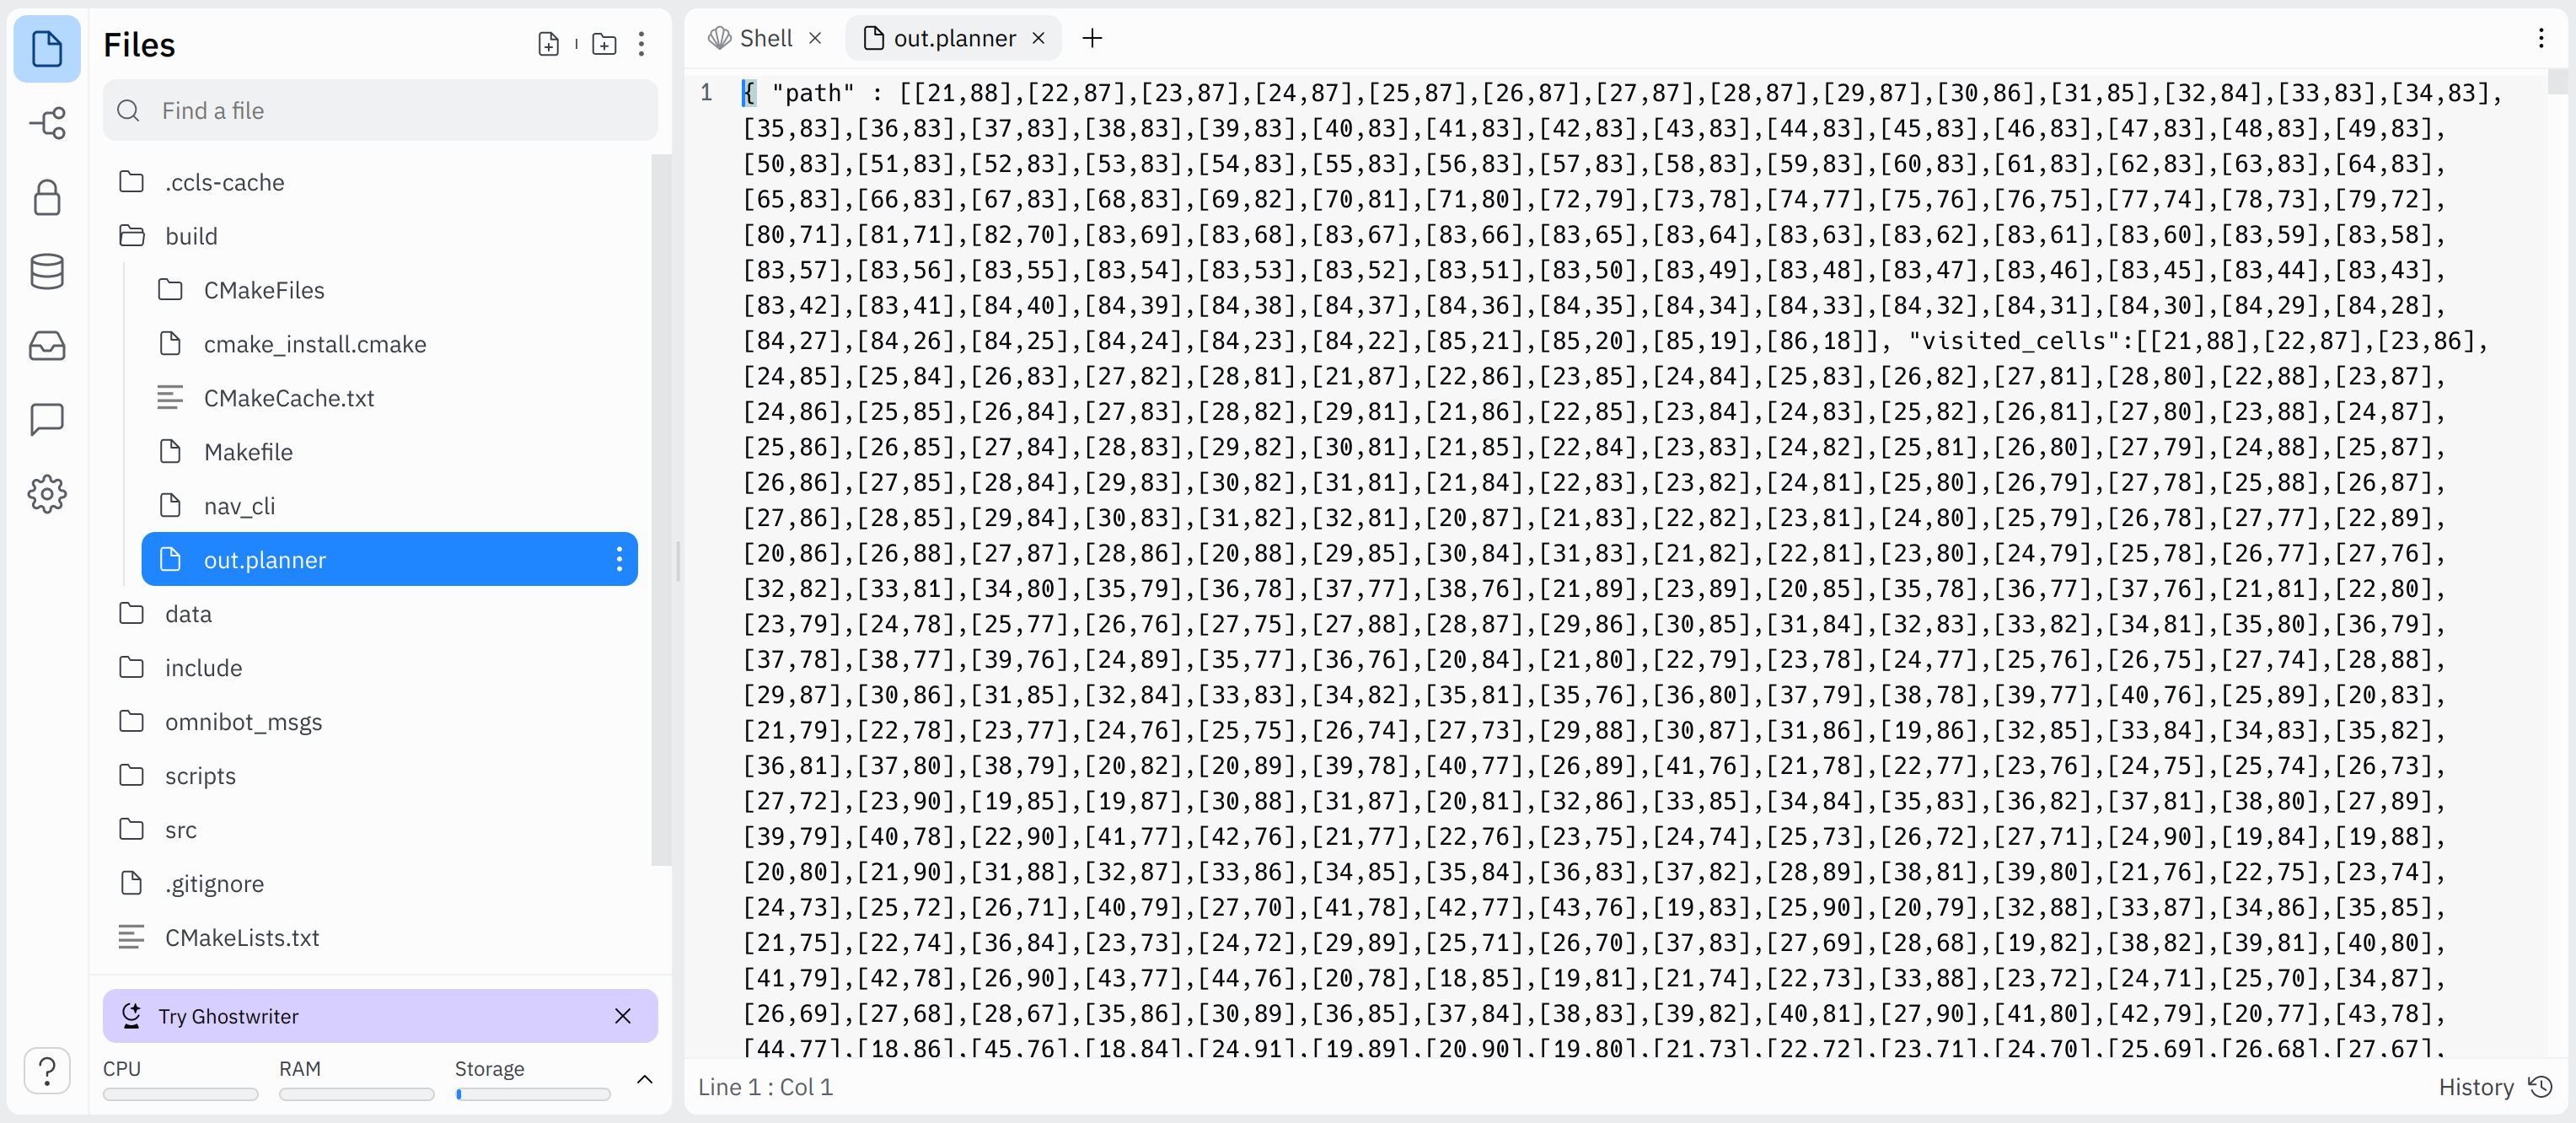
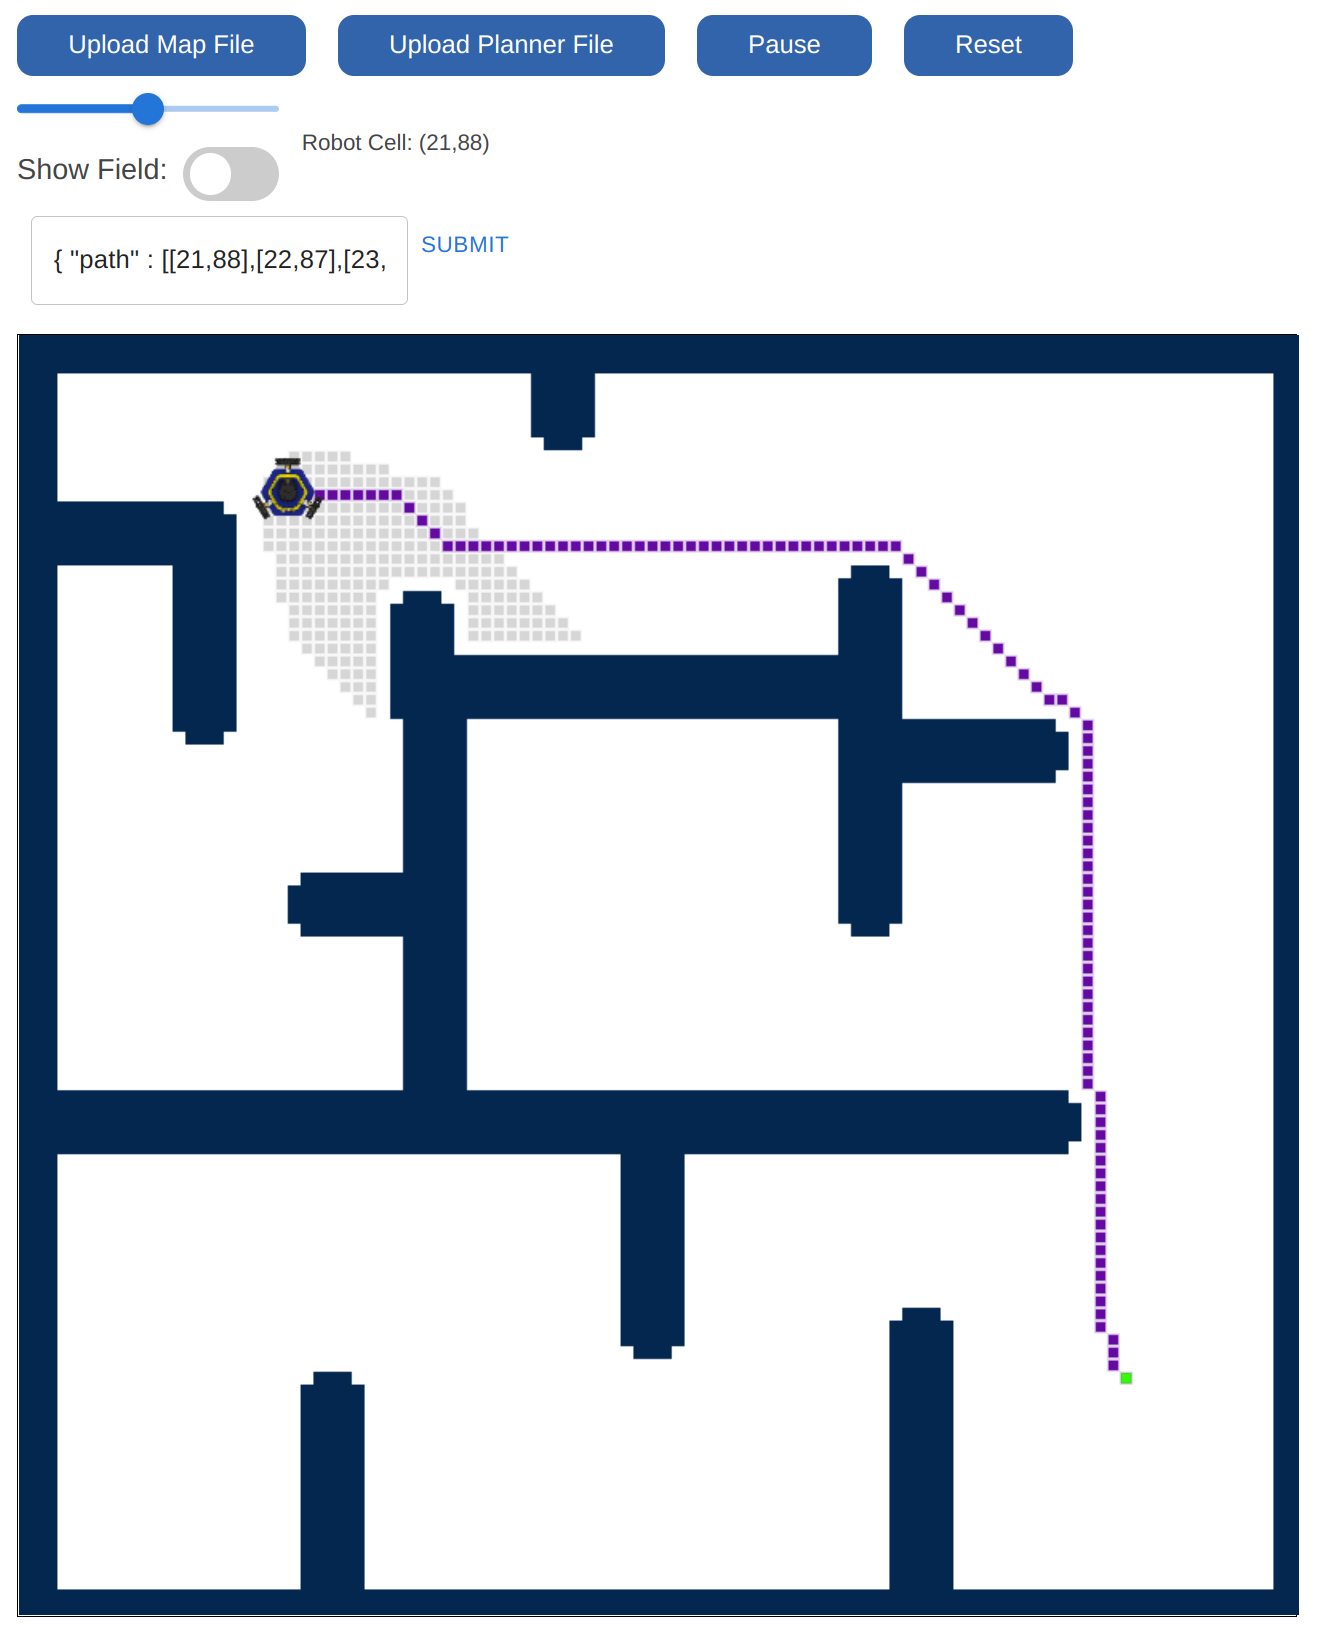
Copy all the contents of that file, and navigate back to the web app. Paste this output
in the text entry box and click submit. One done, you will see the map appear
and the robot will be located at the start cell. Then, click Plan! and watch the
generated plan come to life!